Have you ever pondered the almost limitless options available for things to add to pancakes in the cooking process, let alone the toppings to put on them afterwards? It boggles the mind. The Pancake Project exists for such purposes.

Have you ever pondered the almost limitless options available for things to add to pancakes in the cooking process, let alone the toppings to put on them afterwards? It boggles the mind. The Pancake Project exists for such purposes.
While I’ve enjoyed posting mad skillz from a few other people (and I have a few more to go), I thought I might contribute a skill of my own… so, without further ado, I give you my updated guide to the production of the world’s most delicious toasted sandwich. For this batch I expanded the recipe to include marshmallows. So I give you. The Toasted Mars Bar and Marshmallow Sandwich.
You’ll need:
Fun size Mars Bars
Marshmallows
Bread
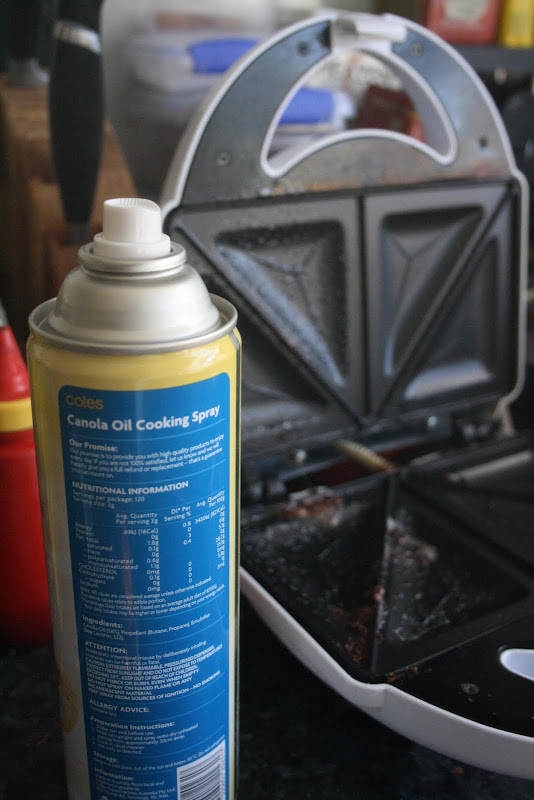
A sandwich toaster (might be best to get a second one, because if you’re not careful you’ll be trying to get rid of the taste of marshmallow for weeks)
Process
It’s all fairly self explanatory:
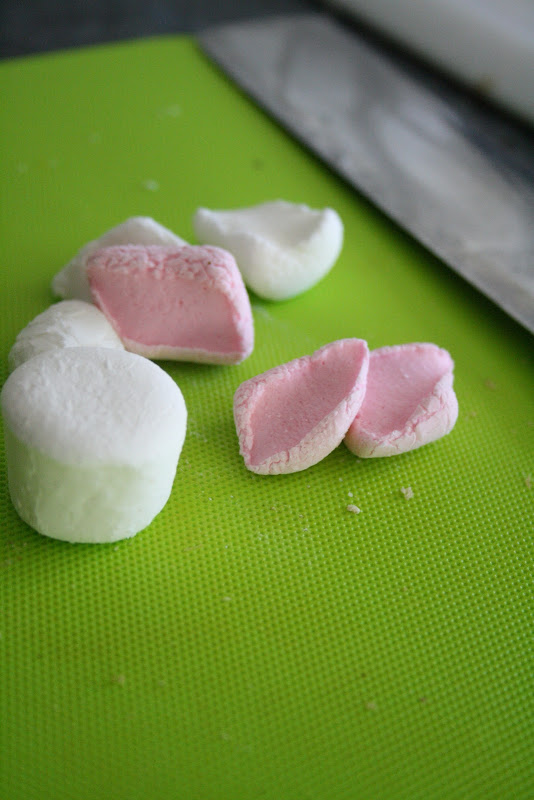
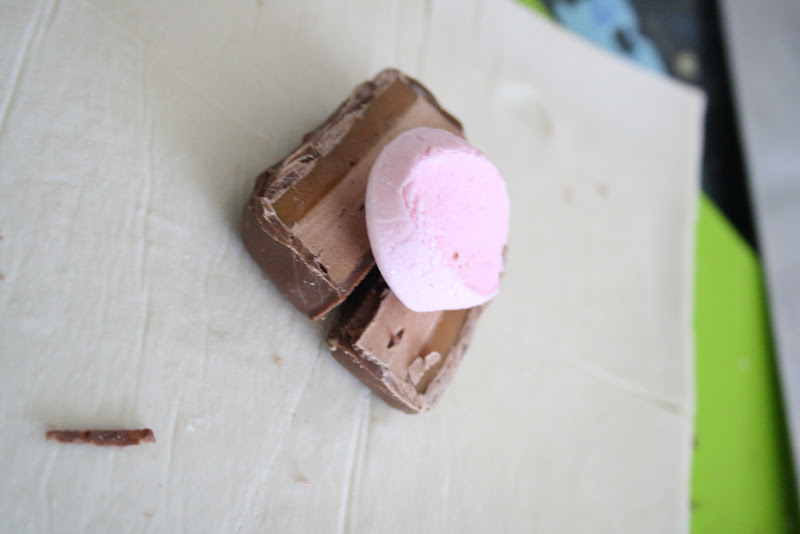
1. Chop up the marshmallows.
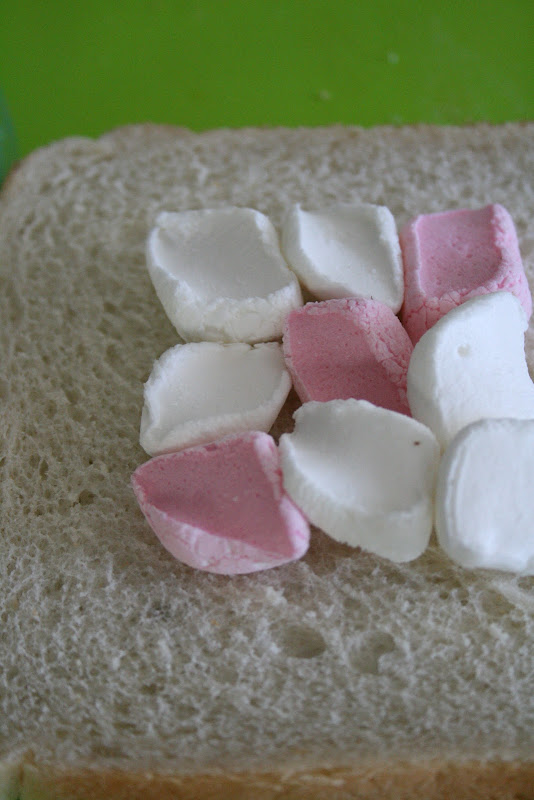
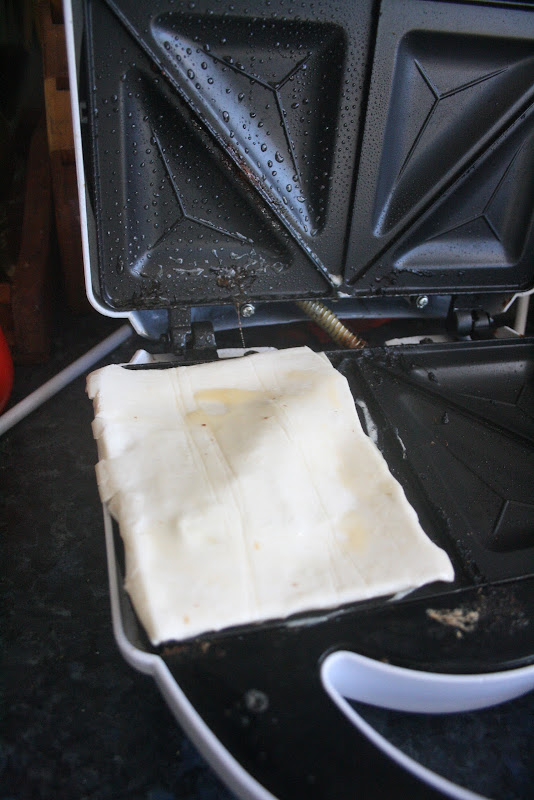
2. Place them on the bread, away from the edges, because you want to make sure they don’t spill over the edges onto the hotplate.
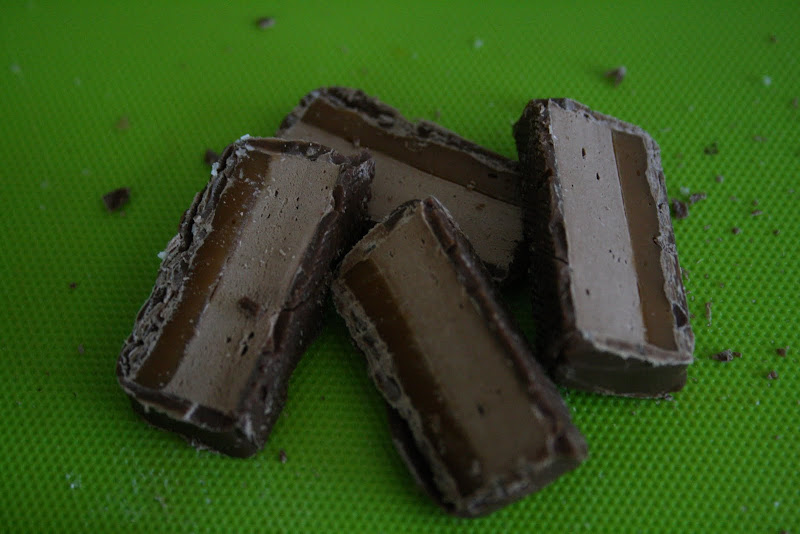
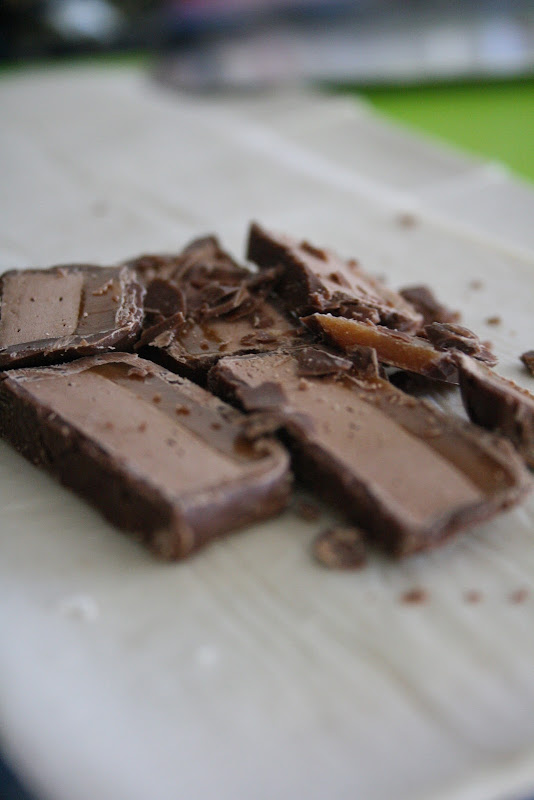
3. Cut up the Mars Bar – I used fun size ones, I think they used to be bigger. This batch probably could have done with some more chocolate to be honest.
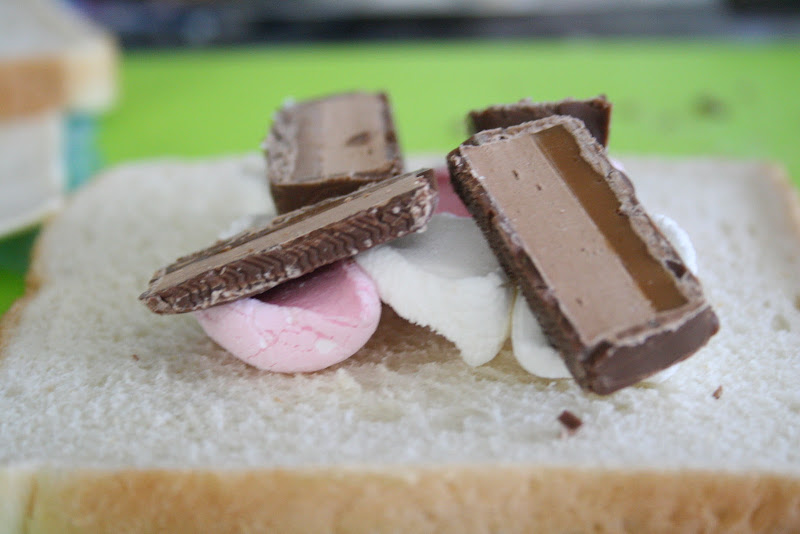
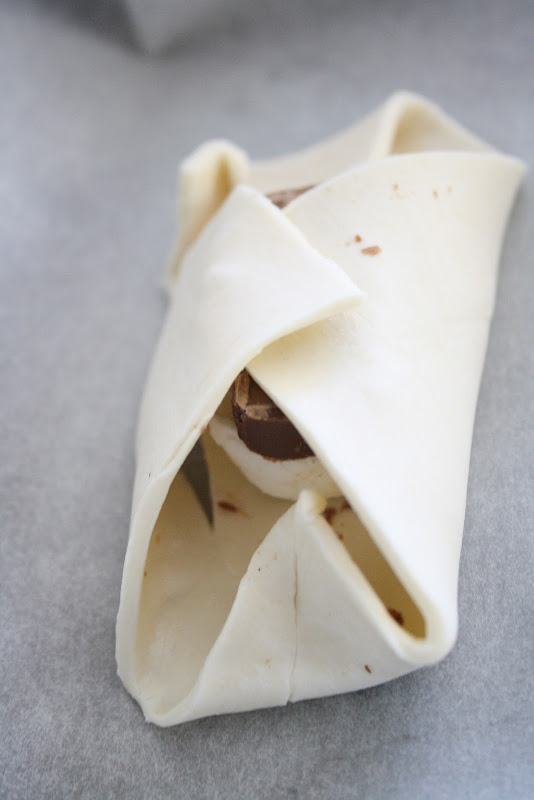
4. Place the Mars Bar bits on top of the marshmallow. Put it in the sandwich toaster. You’ll need to check it as it cooks a few times in case a bit of marshmallow leaks. Trust me.

5. Serve. Delicious.
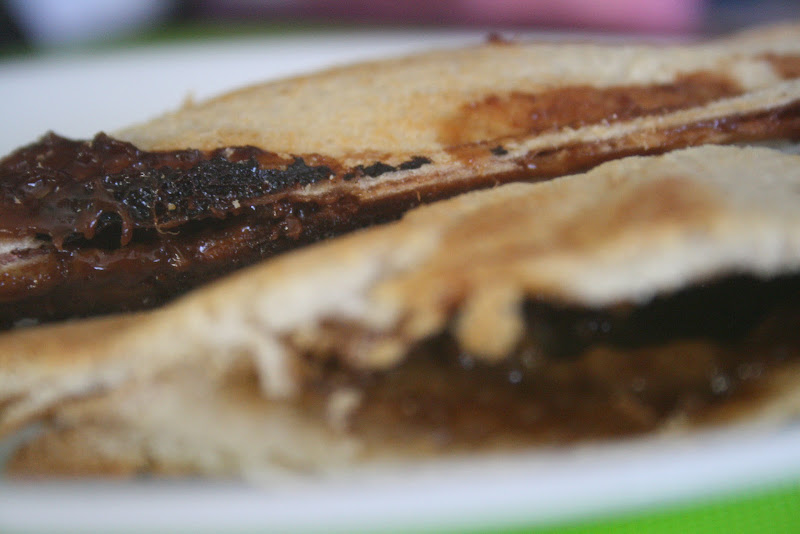
Now. That looks pretty good right? But you can make it a little more gourmet with the introduction of some puffed pastry in the place of the bread.
Either cook them on the toasted sandwich maker (be sure to oil it) – it’ll take about 15 minutes…
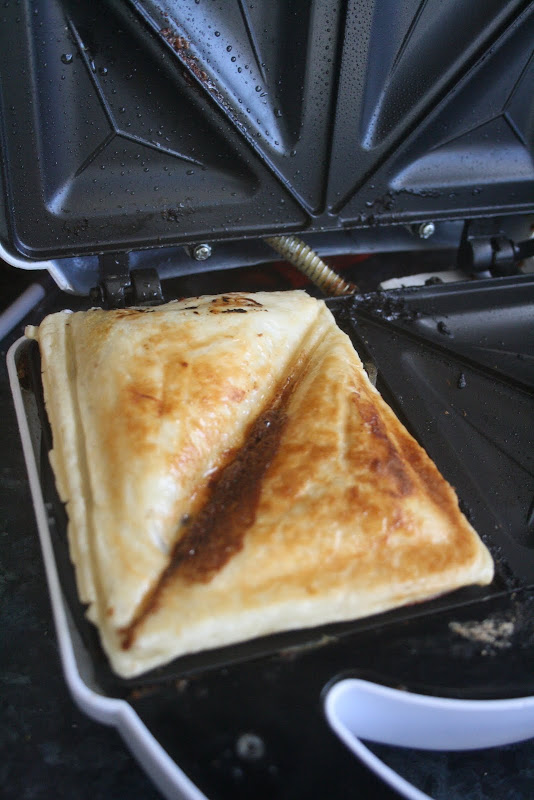
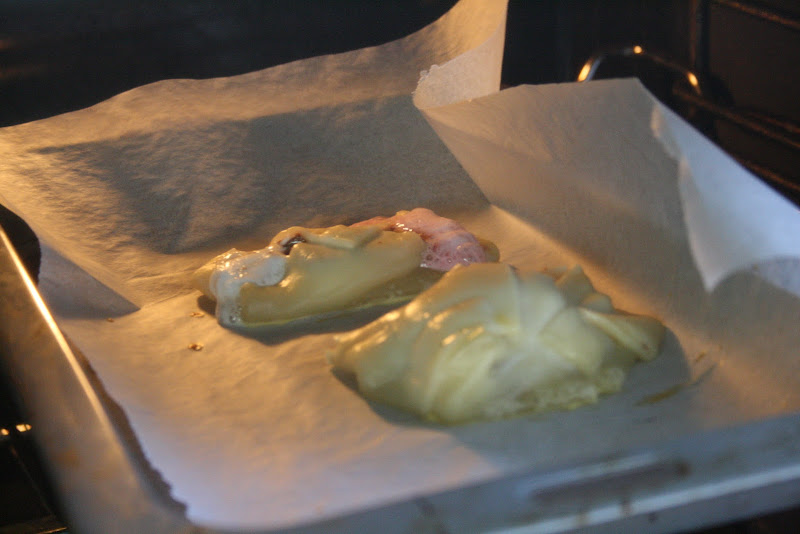
…or in the oven – I let these go for about 17 minutes in the end.
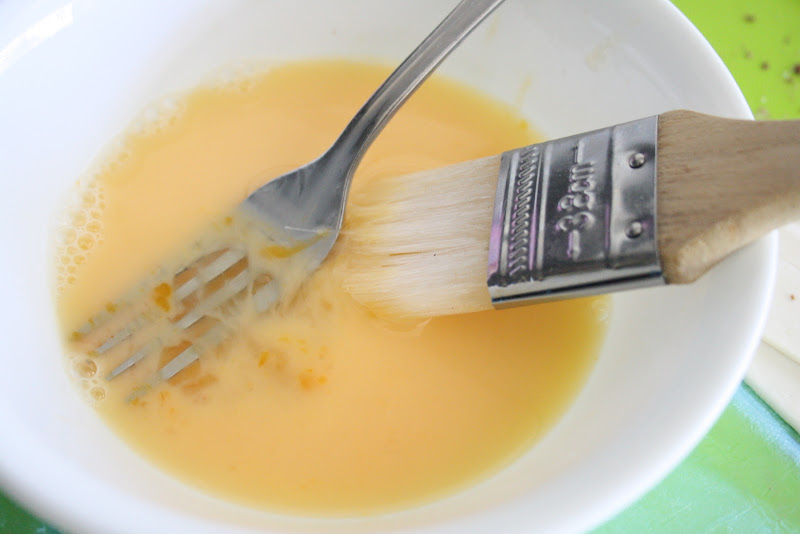
With a little bit of egg glaze (1 egg and a dash of water)…
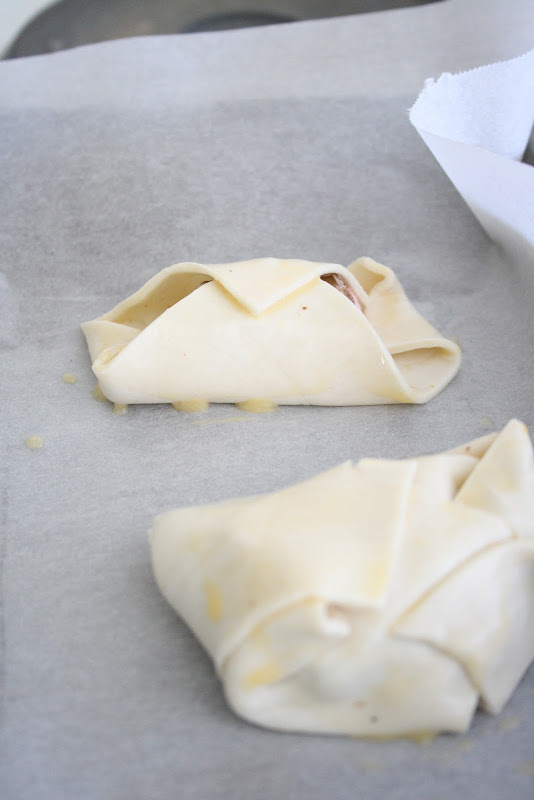
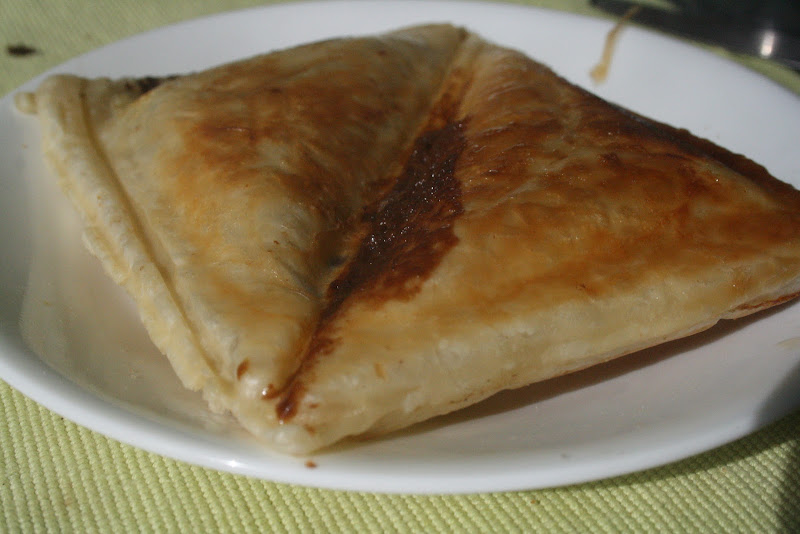
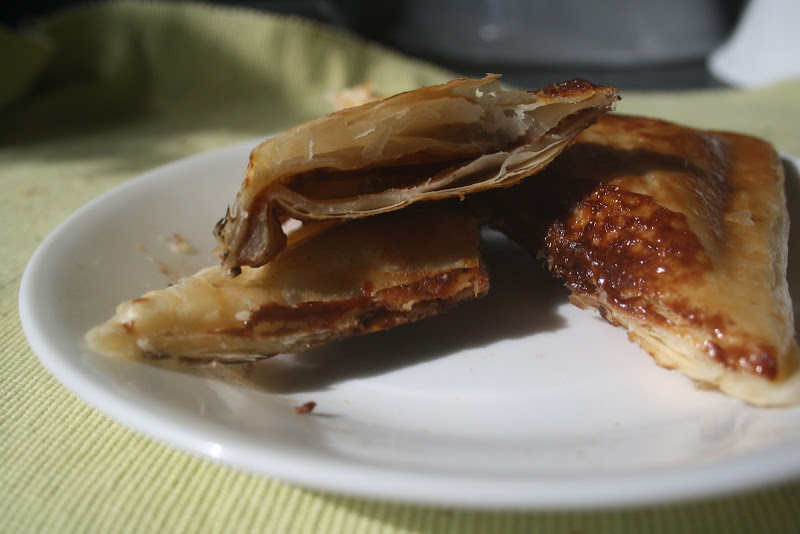
The parcel worked better than the open one.
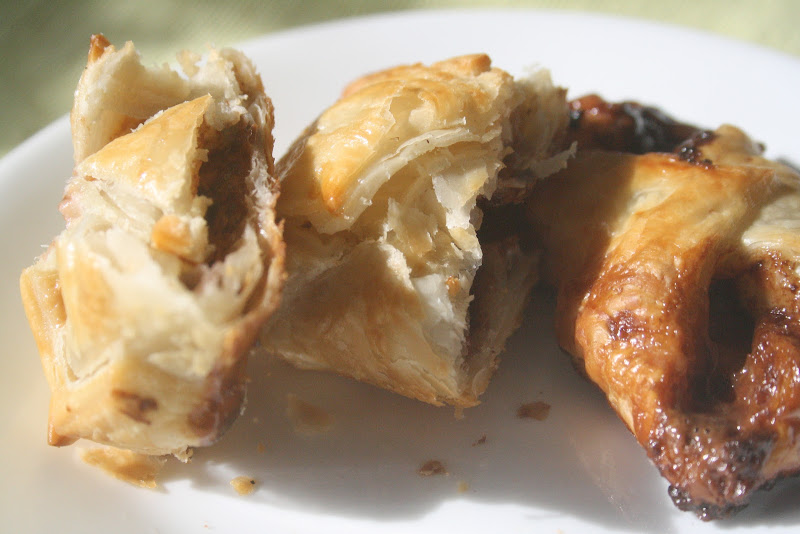
You could probably dust these with icing sugar to present them all fancy and stuff. They’re best eaten hot, but the insides get very, very, hot. So don’t burn your tongue.
Last night, at some time around 11pm, I was talking to reader Tim Goldsmith on Facebook, and in an off hand comment (as he described a technical glitch he was having with this site) he mentioned two magic words. Breakfast burritos. I hadn’t had dinner at this point. I was inspired.
I’d had a breakfast burrito before. On the Sunshine Coast. It was delicious.
I had the ingredients. I still had the oil I’d used in the afternoon for the tortilla chips (I was planning to rebottle it to use again). I was hungry. So I made breakfast burritos. Here’s what I did…
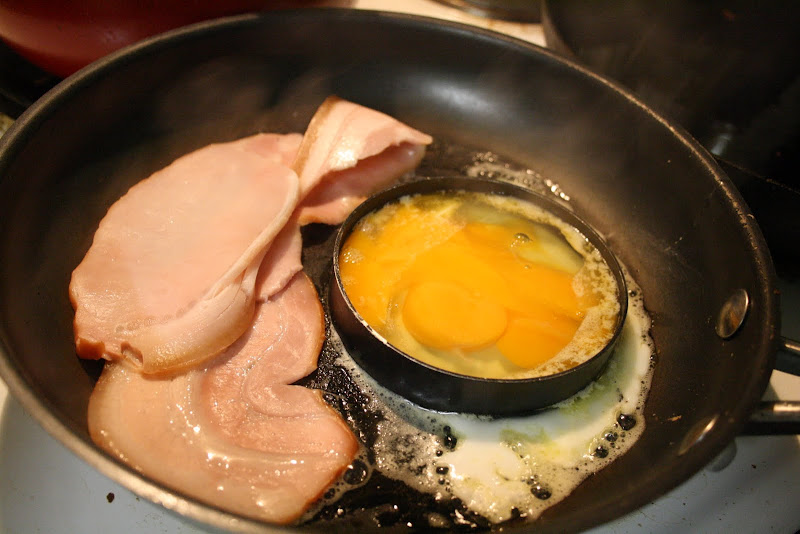
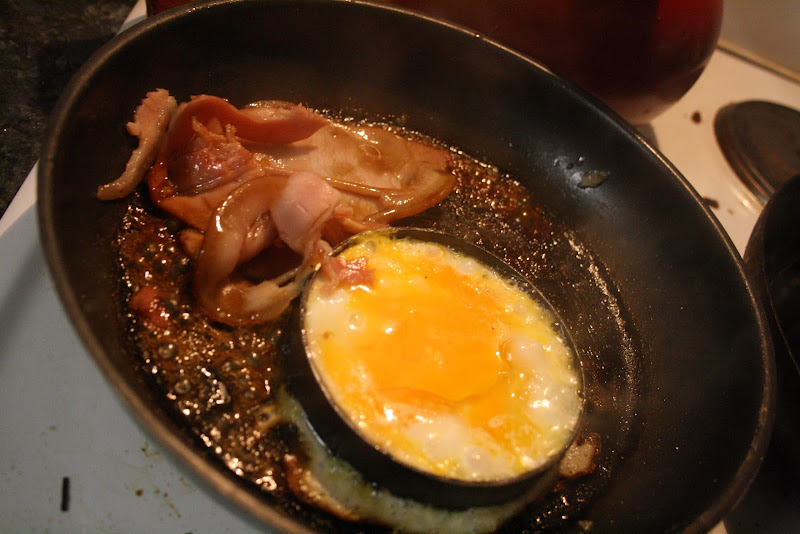
Step 1. Cook the bacon and two eggs.
Step 2. Add some maple syrup and Worcestershire sauce to the bacon. This makes bacon delicious.
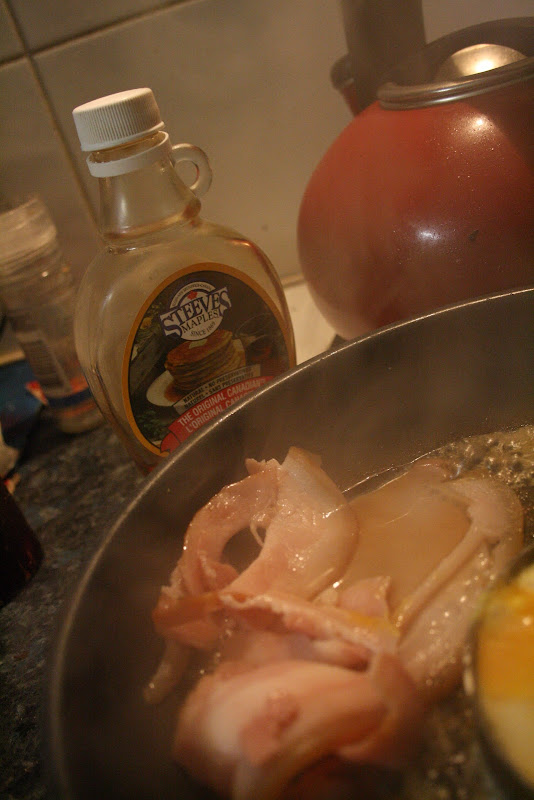
I just pour it on top of the cooking bacon – though beware, if you don’t watch it carefully it’ll coat your pan with a layer that’s almost impossible to clean. But it’s worth it.
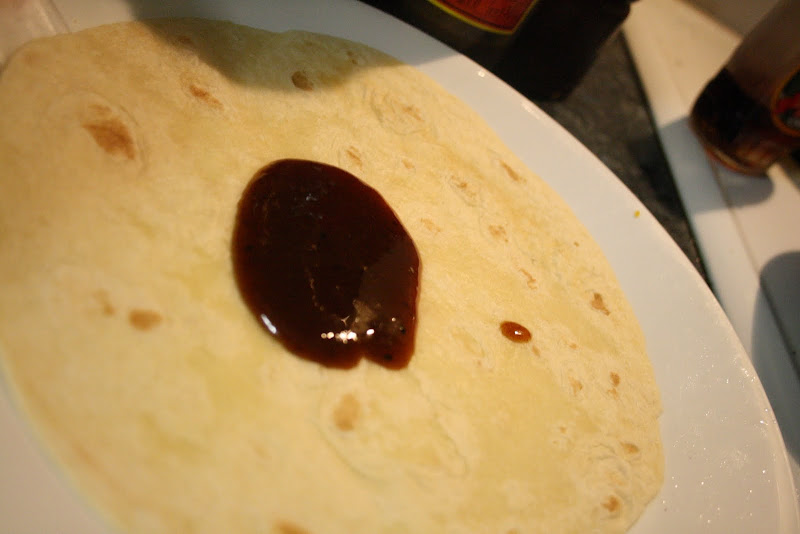
Step 3. I had some sticky rib BBQ sauce in the fridge, so I put a dollop of that on the tortilla.
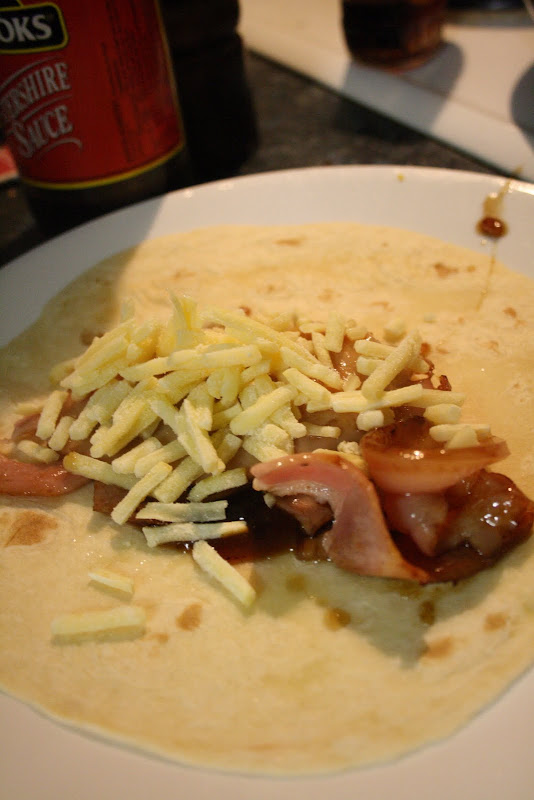
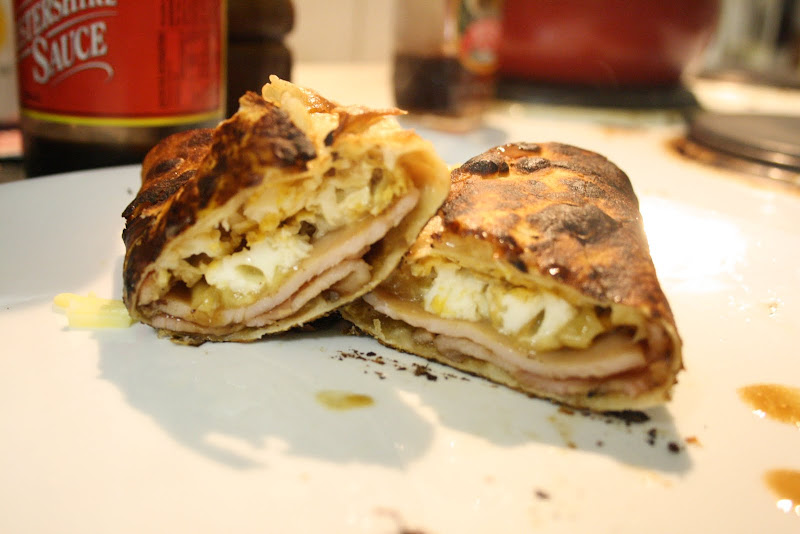
Step 4. I loaded up the tortilla with the bacon, some cheese, and then the egg.
Here’s about how cooked it was…
Step 5. Then it was into the frypan (with a bit of really hot oil – probably half a centimetre). It cooked/blackened really quickly. Heaps quicker than the chips.
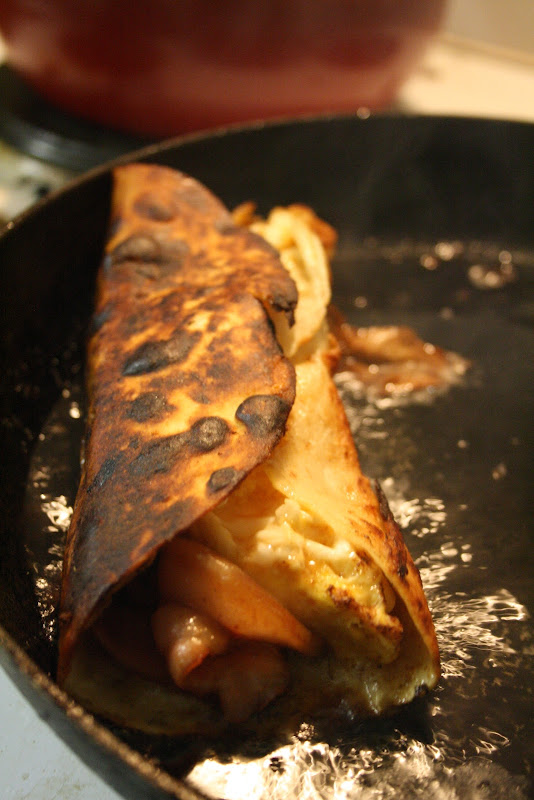
Step 6. Plate up.
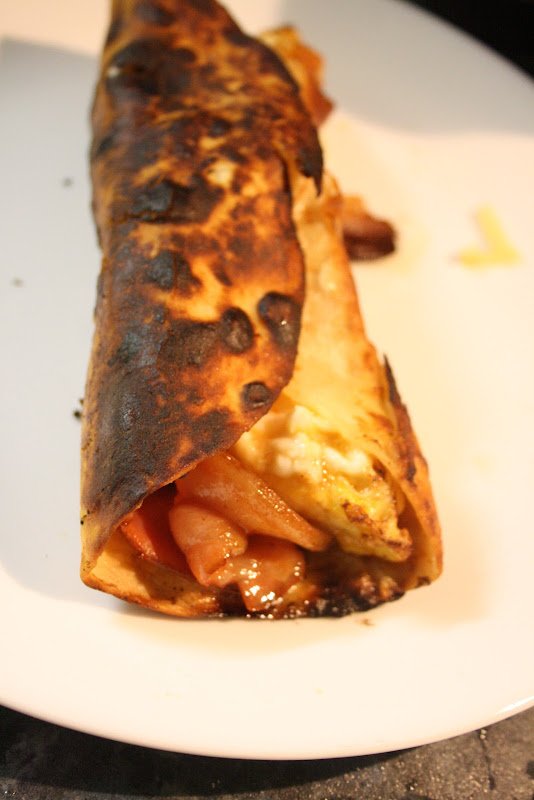
Delicious. It’s now on the menu if ever you come around for breakfast.
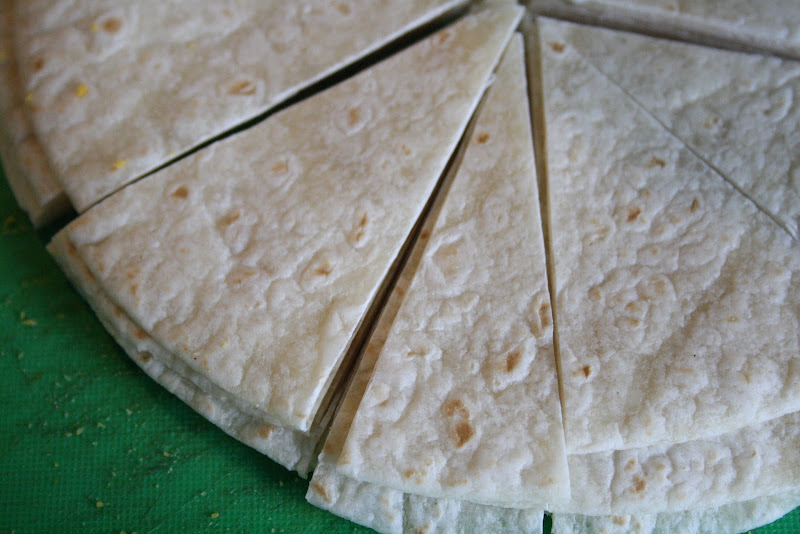
There’s nothing like a hot snack on a rainy essay day. So today, in between essays, I made some tortilla chips. Which are amazing. Cheap. And delicious. Here’s how…
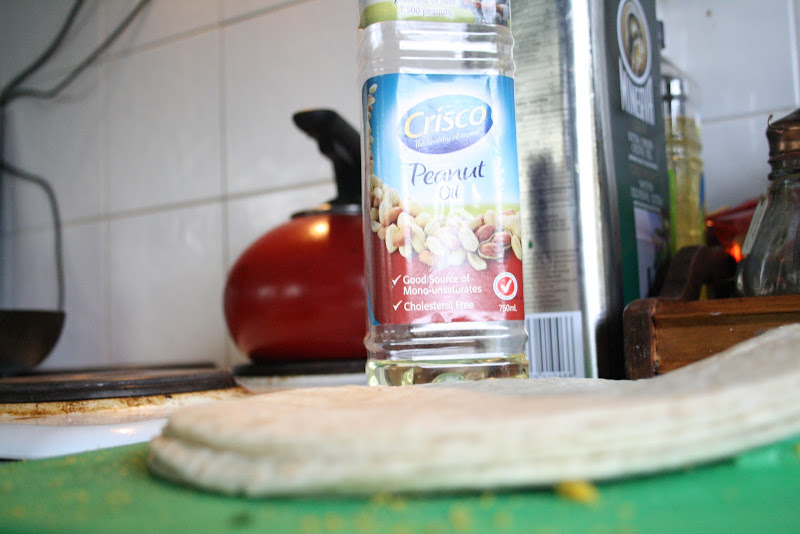
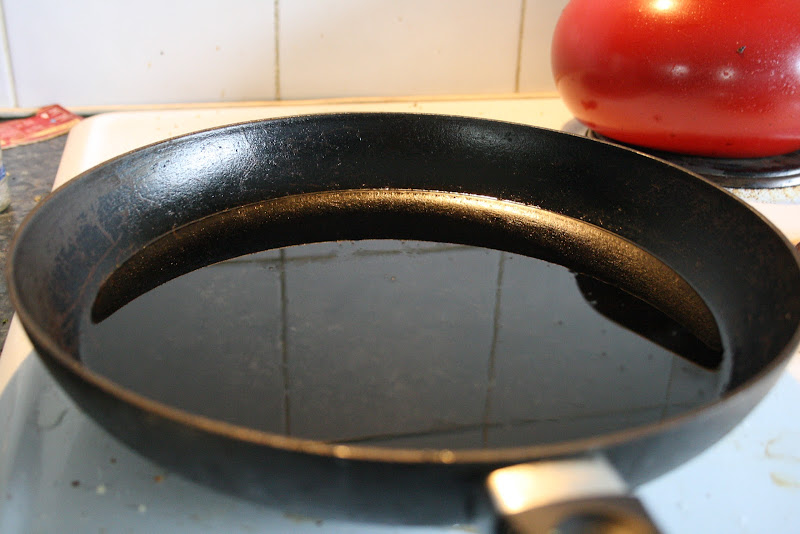
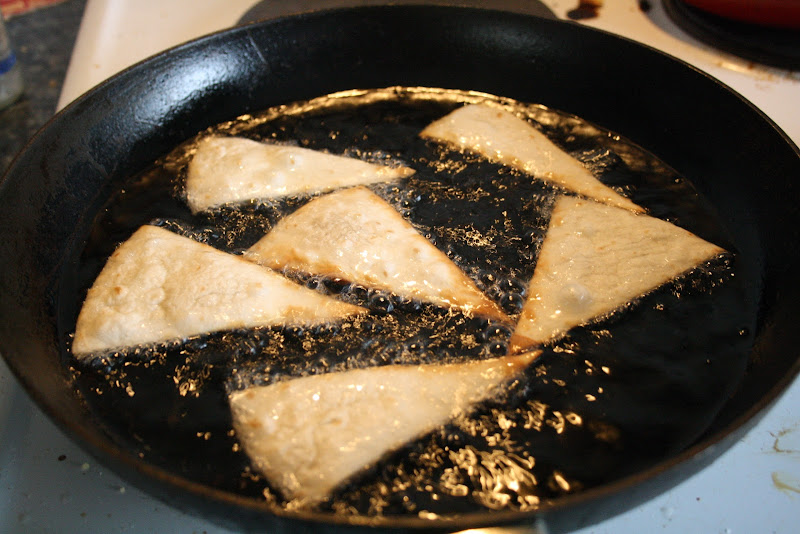
Heat some hot oil in a frypan. On the stove. I used peanut oil. On the highest temperature. With about three quarters of a centimetre of oil throughout the pan.
Wait till it bubbles a little.
Cut your tortillas into chip shapes.
Put them in oil – once the oil is hot enough each side will cook in somewhere between 20 and 40 seconds.
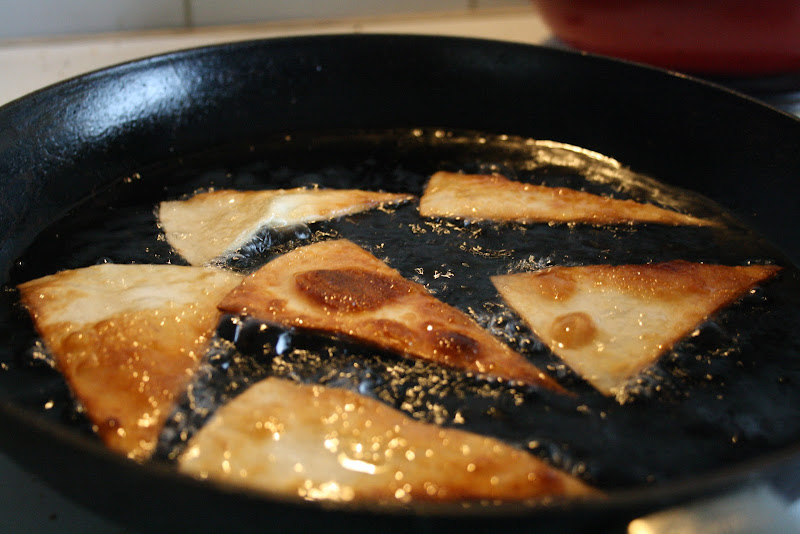
Put the cooked ones on a piece of paper towel.
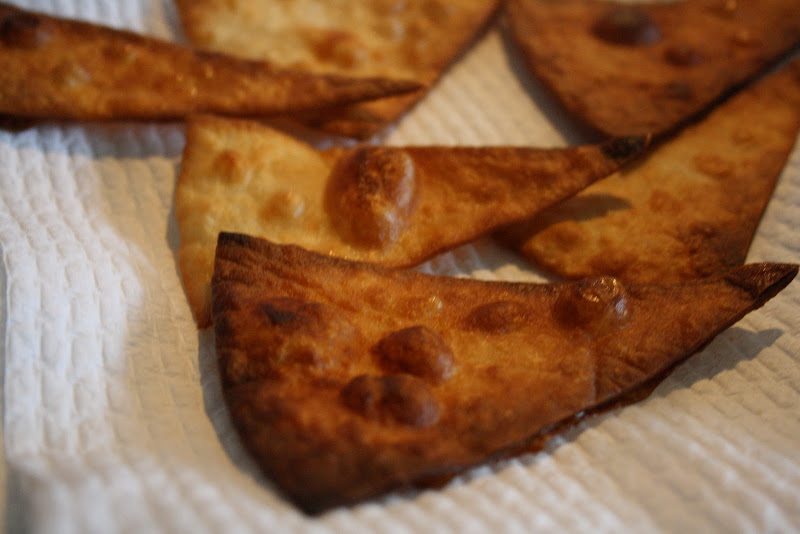
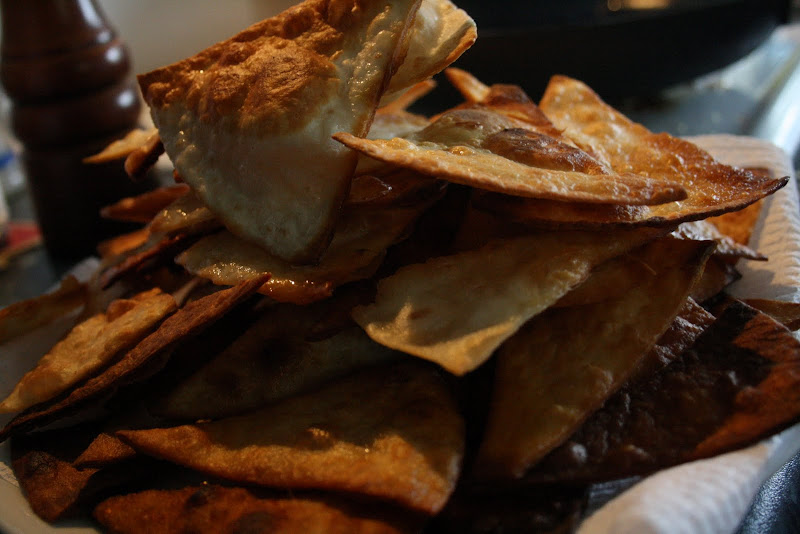
Once they’re all done, pile them all up into a bowl and liberally apply sour cream and salsa. They’re also fantastic with mince as Nachos. And great by themselves.
I was craving steak all day. That’s where it started. You could say my trip to the supermarket to buy eggs for breakfast set the ball rolling, because that’s where I saw them. Two succulent pieces of eye fillet. Just the right sizes. One slightly bigger than the other (I am more than slightly bigger than my wife). Perfect. I had to have them. They became mine.
They sat in the fridge all day. Looking at each other, and their neighbours. The Beans. The Beans too, were destined for the fry pan. With a little butter, and some pepper.
Sometime in the early hours of the evening, you could say they were at sixes and sevens, the minute hand and hour hand that is, the steaks made their way to a dish. Where they met Olive Oil (not to be confused with Popeye’s girlfriend) and Rock Salt. Their demise at the hands (or teeth) of mastication was imminent.
Perhaps I was distracted by the thought of chewing on a delicious piece of barbequed steak, perhaps I was pondering the lack of blogworthy material filtering through my “Publish Now” button. Who can say. All I know is that for a moment, a long moment, between turning on the gas bottle, opening up the valves on the barbeque, and lighting a skewer to stick between the fronds of the grill, I thought “I can smell gas, but it’s airy and open out here, so it shouldn’t be a problem”… thoughts can be so misleading. The faggot alight (well, the skewer, unlike commercial radio I’m ok with using a word that has multiple meanings – because that’s what Dire Straits was singing about. Sticks with jewelry and makeup. Millionaire sticks.). My thoughts turned to introducing flame to gas. Which turned out to be a more volatile proposition than I planned – sending a ball of flame into my face. I shut my eyes. I smelled burning hair. I ducked and dived. Coughed and spluttered. And then went into some sort of shock, before making my way inside to confess my adventures to my wife. Who had been asleep. I surveyed the damage in the bathroom mirror – my previously almost invisible eyebrows were now almost more invisible, if that were possible. My eyelashes were but a shadow of their former selves. And my carefully nonchalant attempt at a beard was now half as substantial – which is to say not very substantial at all, though more stinky. My fringe, slightly puffier than the rest of my hair at the best of times, was now puffier, and shorter by half, than the rest of my hair.
So next time somebody, even if its the little voice inside your head, says “don’t turn the gas on 45 seconds before you light the match” – learn from my mistake. Don’t turn the gas on 45 seconds before you light the match.
Add some maple syrup to this mix and I’m sold. I’ve always cranked up the heat and put a lid on the saucepan. Because I like my bacon crispy. But this looks better.
Breakfast here we come…
These look amazing. And delicious. And if you make them for me I will love you forever (I’m looking squarely at my wife, but anybody else who wants my affection should also take note).

Here’s how to make them. And a video.
The other day, over at thebeanstalker.com (my coffee blog, read it, click some ads – I make money), I did a little experiment with coffee and beer. I bought a proper coffee beer and made my own. It was science. Tastebud stretching science. I like beer. Nothing beats it on a hot summer’s afternoon. I also like marshmallow. And chocolate. But I’m wondering if chocolate-coated beer-marshmallows is taking things a bridge too far (though coffee beer probably is too). Why not just enjoy all these things separately…
But they look so good.

And here’s how to make them. To whet your appetite – here are the ingredients from this recipe.
Chocolate-Dipped Beer Marshmallows with Crushed Pretzel Garnish
Makes 18-22 marshmallows, depending on how you cut themFor the Bloom:
1 1/2 tablespoons (just under 1/2 ounce) unflavored gelatin
2 teaspoons vanilla extract
1/3 cup (2.5 ounces) flat dark beerFor the Sugar Syrup:
1/4 cup (2 ounces) flat dark beer
1/2 cup + 2 tablespoons (5 ounces) corn syrup or sugar cane syrup
3/4 cup (6 ounces) granulated sugar
pinch saltFor Coating and Topping
10-12 ounces milk chocolate
2-3 teaspoons canola oil, optional – for thinning the melted chocolate
1/2 cup stick pretzels
I like this (from Pop Chart Lab). Our kitchen has far too many of these, and yet, not enough.

It’ll cost you $20 as a poster.
“Here is a thorough mapping of over 100 tools used in the preparation of delicious food. Printed with real copper ink, the same substance you might find in a fine piece of cookware.”
Kenji Lopez-Alt is an online cooking superstar. He’s the guy who reverse engineered Maccas fries and so owns a special place in all our hearts.
He combines science and cooking and writing like a chef combines ingredients…
So when he says “these are the six biggest myths in food preparation” then I believe him. And I post a link to them.
Some surprises, like the idea that you can flip steaks over and over again during cooking (I’m of the only flip once school).

Common backyard know-how dictates that burgers and steaks should only be flipped once, half way through cooking. But has anyone ever bothered questioning why we do this? Does it actually create a noticeable improvement in the way your meat comes out?
Turns out the answer is an emphatic no! Flipping your meat multiple times produces meat that’s noticeably more evenly cooked (there’s about 40% less overcooked meat in a burger flipped every 15 seconds vs. one flipped once), browns just as well (just don’t expect distinct hash marks), and to top it all off, ends up cooking in about 2/3rds of the time. Faster and better? You betcha!
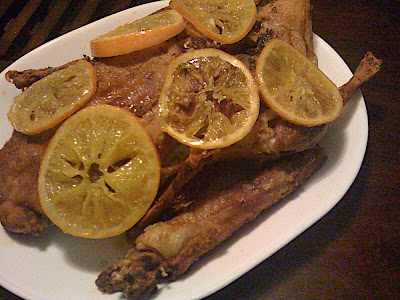
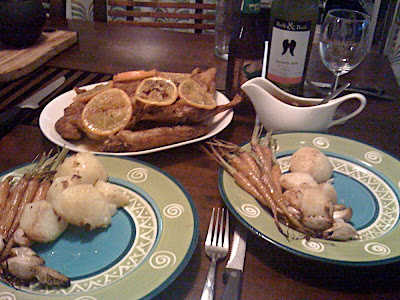
I love duck. If it’s on the menu at a restaurant, and I’m not paying, I’ll order it every time. I was thrilled, last time I was checking out the meat section at Coles, to find whole ducks for $17.99. I bought one. Tonight, I cooked it. Duck a l’orange style. That’s how I’m spelling it anyway. I mostly followed this recipe here, but I made a few additions.
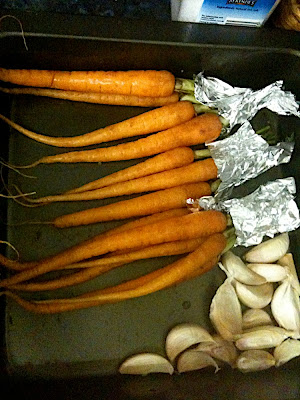
It was spectacular. I served it with roasted baby carrots, potatoes and garlic.
Here are some grainy iPhone photos.
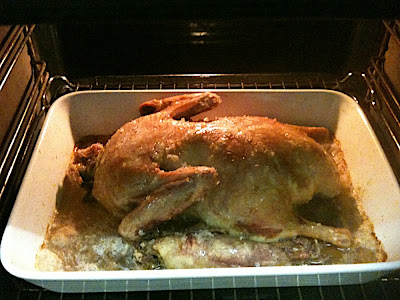
I was a little surprised to unwrap the duck to find the neck still attached.
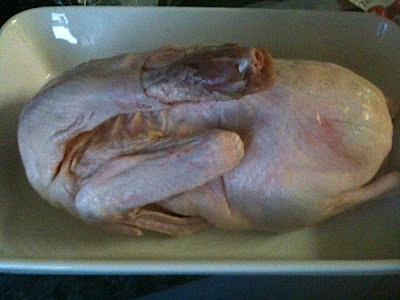
I salted the skin and pricked little holes in it (following that recipe) to let the fat drip out during cooking.
This was my little tray of veggies.
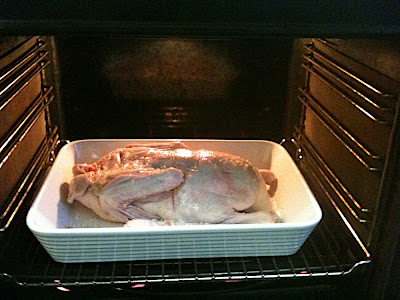
Here’s the duck after an hour. It took about three and a half hours to cook.
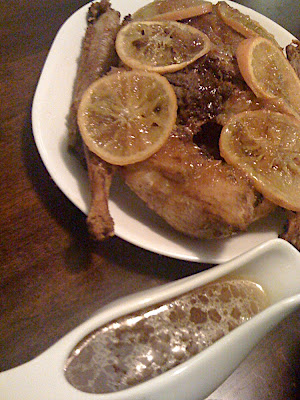
The sauce was orange juice (squeezed by hand, with a fair bit of pulp), roughly a cup of moscato, a spoon full of orange marmalade, and some of the duck fat. I reduced it a fair bit, basically until it was a syrup. I cut a couple of slices from the middle of each orange to make my candied orange garnish (one of my additions).
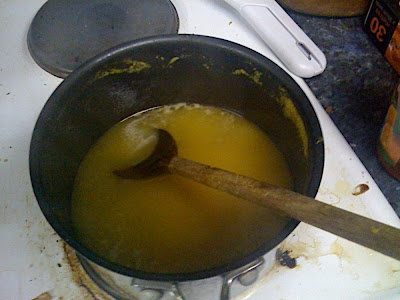
I tipped a few lid-fulls of castor sugar (from one of those CSR bottle things… I think they’re CSR bottles) into a fry pan with a dash of water, and let it heat for a little while. Then I dropped my orange pieces in and tried to caramelise them. They ended up tasting a bit like marmalade and being a nice sticky texture. Perfect.
This sauce had been sitting for a while (as I finished off the veggies) a quick stir settled the oil (from the duck juices) back into the orange syrup. Delicious.
I don’t know what Sous Vide tastes like – but I like the cut of this jib – apparently sous vide cooking is all the rage (using temperature controlled water to cook stuff). I think I’ve seen similar methods on MasterChef. Anyway, Sous Vide cookers will set you back lots of money. A better alternative is to use a beer cooler and little sealable baggies.

So says Kenji Lopez-Alt – the guy who reverse engineered Maccas fries. Here’s an appetite whetter:
“Here’s how it works: A beer cooler is designed to keep things cool. It accomplishes this with a two-walled plastic chamber with an air space in between. This airspace acts as an insulator, preventing thermal energy (a.k.a. heat) from outside to reach the cold food inside. Of course, insulators work both ways. Once you realize that a beer cooler is just as good at keeping hot things hot as it is at keeping cold things cold, then the rest is easy: Fill up your beer cooler with water just a couple degrees higher than the temperature you’d like to cook your food at (to account for temperature loss when you add cold food to it), seal your food in a plastic Ziplock bag*, drop it in, and close your beer cooler until your food is cooked. It’s as simple as that.”
He’d cook fish over an open fire. And possibly bake bread. I’m pretty sure it wouldn’t be anything like this atheistic parody.
I probably shouldn’t be laughing at this.
Tonight is the second installment of my birthday present to Robyn. We’re going to round two of cooking school at Townsville’s De Studi kitchen shop.
Round one – Moroccan – was a smash hit. Robyn has already produced delicious Lamb Sigaras since. I will post the recipe one day… but first… the cook off…
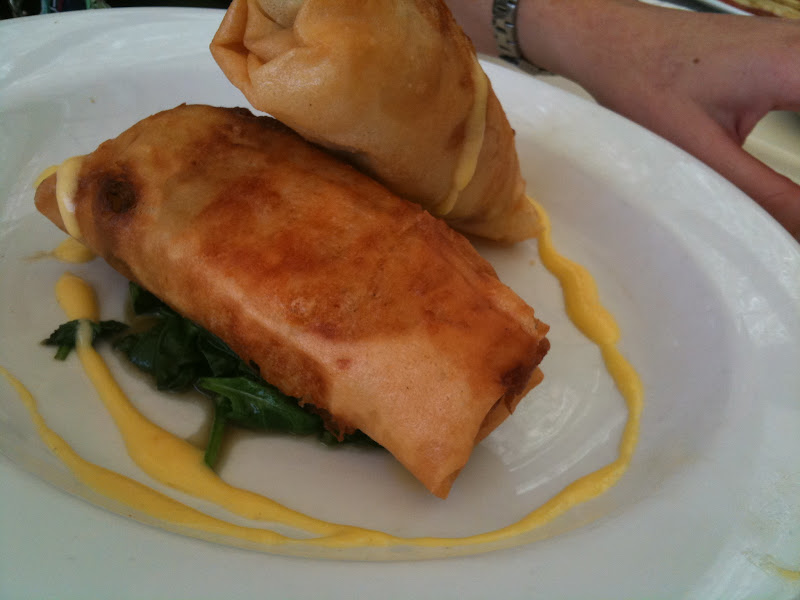
There wasn’t a whole lot of interactivity in the classes – we were able to fill, and roll, our “sigara”, which is some sort of language for cigar shaped filo pastry thing stuffed with sensational lamb mince…
Pig + Blender = Bacon Jam. That’s the equation celebrated by this shirt.

A shirt that celebrates what is quite possibly the most awesome dining innovation since sliced bread.
When man first sliced bread he was left facing a conundrum – what to put on this slab of excellence that would enhance it. Bacon jam is the answer.
“…….we take a big bunch of really really good bacon, and render it down…add a bunch of spices..onions, etc..and let it simmer for about 6 hours…give it a quick puree, and blast chill it…and you have bacon jam.”
